The Best Fluffy Pancakes recipe you will fall in love with. Full of tips and tricks to help you make the best pancakes.

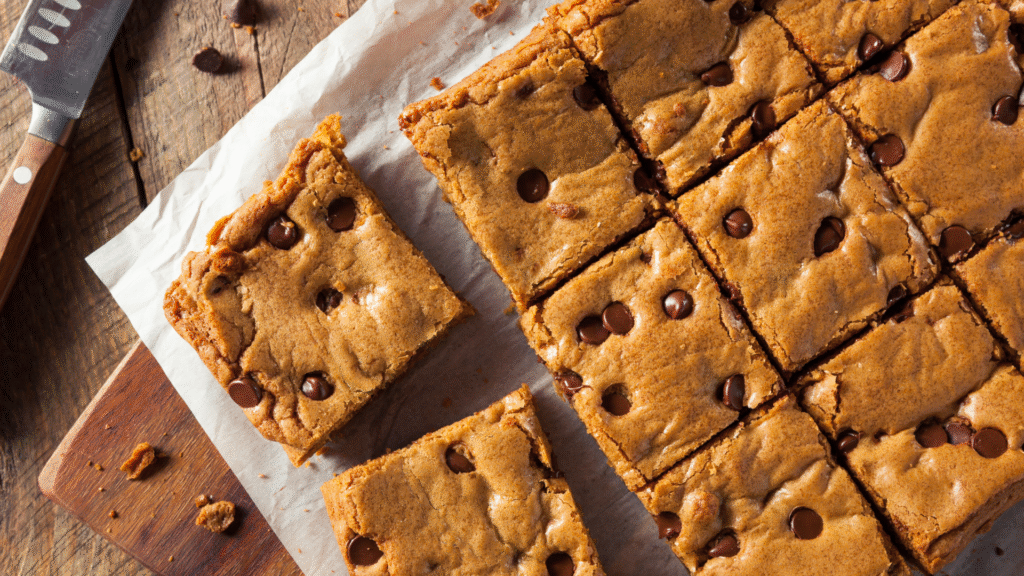
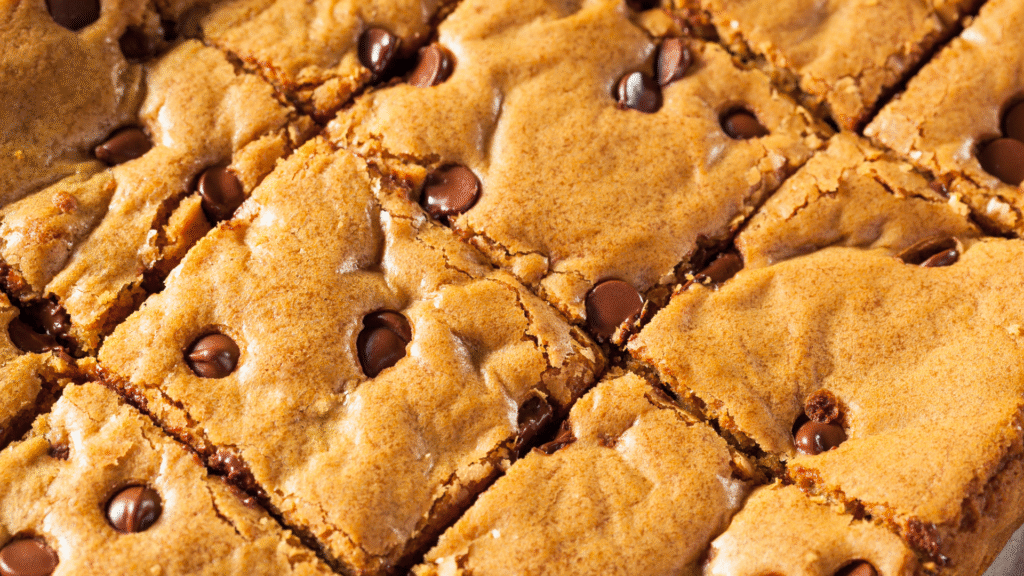
These chocolate chip blondies are the perfect treat: dense, chewy, and loaded with a rich, buttery, caramel-like flavor, thanks to the brown sugar and melted butter. They are essentially a giant, easy-to-make chocolate chip cookie bar! This classic recipe uses the melted butter and brown sugar method to ensure a moist, fudgy center and delightfully crisp edges.
What are Blondies?
A blondie is a bar dessert, similar to a brownie but without the cocoa powder. Often called a blonde brownie, the dessert originated in the United States and is characterized by its light color and rich flavor derived from brown sugar and vanilla extract. As a type of dessert bar, a blondie’s texture is typically dense and chewy. For more history, the Blondie (confection) is a type of dessert bar originating in the United States.
Ingredients
For the Chocolate Chip Blondies
- 1/2 cup (1 stick or 113g) unsalted butter, melted and slightly cooled
- 1 1/2 cups (300g) packed light brown sugar
- 2 large eggs, at room temperature
- 2 teaspoons pure vanilla extract
- 1 1/2 cups (180g) all-purpose flour
- 1 teaspoon baking powder
- 1/2 teaspoon salt (use 1/4 tsp if using salted butter)
- 1 cup (170g) semi-sweet chocolate chips (or chocolate chunks)
- Flaky sea salt, for sprinkling (optional)
How to Make Chocolate Chip Blondies
- Prep: Preheat your oven to 350∘F (175∘C). Line an 8×8-inch metal baking pan with parchment paper, leaving an overhang on two sides to easily lift the bars out later. Lightly grease the pan or the parchment paper.
- Combine Wet Ingredients: In a large bowl, whisk together the melted and slightly cooled butter and the packed brown sugar until completely smooth. The heat of the butter will help dissolve the sugar, which is key to a chewy texture.
- Add Eggs and Vanilla: Whisk in the eggs one at a time, followed by the vanilla extract. Mix until the batter is glossy and well-combined.
- Add Dry Ingredients: In a separate medium bowl, whisk together the flour, baking powder, and salt.
- Mix Batter: Pour the dry ingredients into the wet ingredients. Use a rubber spatula to fold them together until just combined. Stop mixing as soon as you no longer see streaks of dry flour. Do not overmix, as this can lead to tough blondies.
- Fold in Chocolate: Gently fold in the chocolate chips until they are evenly distributed throughout the batter.
- Bake: Spread the batter evenly into the prepared baking pan. Sprinkle the top with a pinch of flaky sea salt, if desired. Bake for 28-35 minutes.
- Cool Completely: The blondies are done when the edges look set and golden brown, and a toothpick inserted into the center comes out with moist, fudgy crumbs (not wet batter).
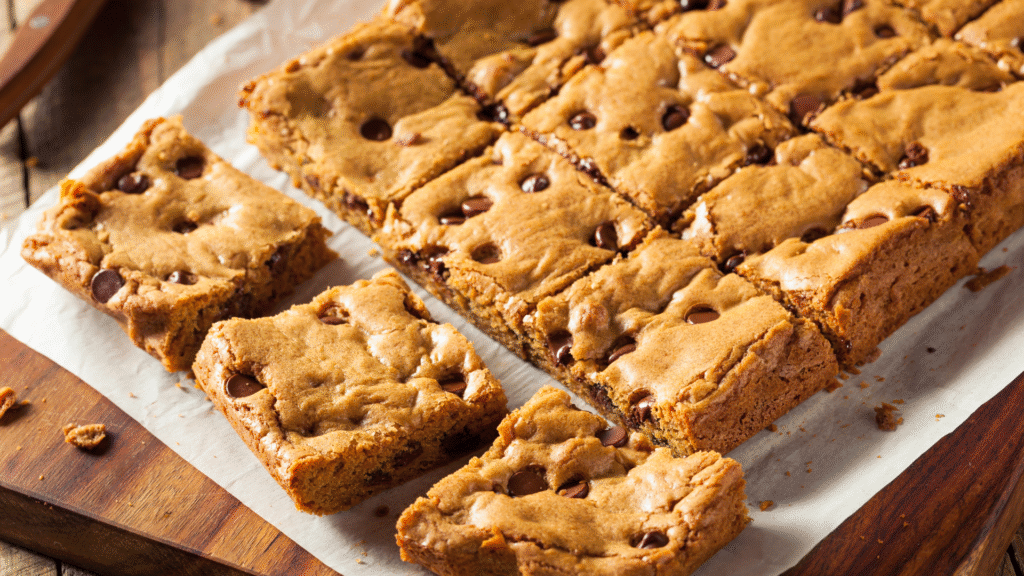
- Slice: Let Chocolate Chip Blondies cool completely in the pan on a wire rack for at least 1-2 hours before lifting them out using the parchment paper overhang. This allows them to finish setting and results in clean, chewy squares. Slice and enjoy!
Tips for Chocolate Chip Blondies
- Melted Butter is Key: Using melted butter, rather than softened butter, helps the brown sugar dissolve better, which contributes to the characteristic fudgy, dense texture of a blondie.
- Don’t Overbake: The single most common mistake is overbaking. The center of the blondies may look slightly undercooked or soft when you pull them out—that’s perfect! They will continue to set as they cool. Overbaking leads to dry, cakey bars.
- The Right Pan: An 8×8-inch metal pan is ideal for thick, chewy bars. If you use a glass pan, you may need to reduce the oven temperature by 25∘F and extend the baking time slightly.
Conclusion
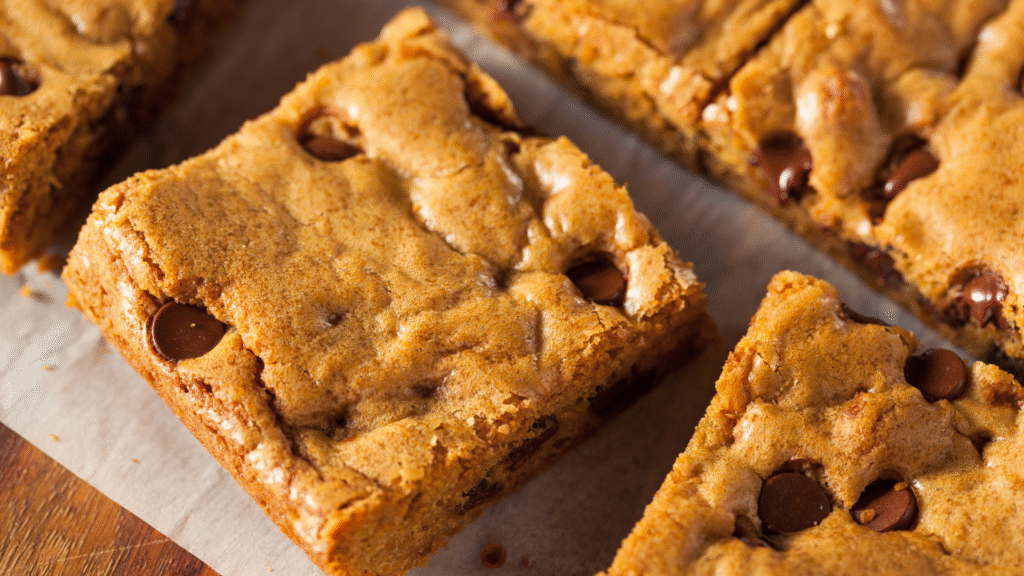
The Chocolate Chip Blondie is a simple, satisfying dessert that delivers rich flavor with minimal effort. Its buttery, molasses-infused chewiness and pools of melted chocolate make it a superior alternative to cakey cookies and a definite crowd-pleaser. Once you master the melted butter technique and resist the urge to overbake, you’ll have a dessert that is consistently fudgy, chewy, and irresistible.
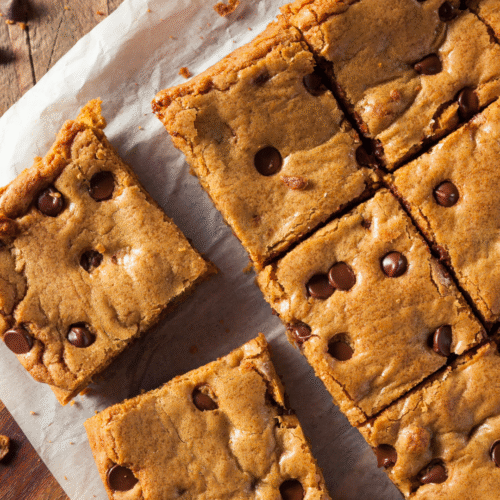
Best Chewy Chocolate Chip Blondies In Just 40 min
A perfect recipe for dense, fudgy, and chewy chocolate chip blondies using melted butter and brown sugar for a rich caramel flavor.
Ingredients
- 1/2 cup 1 stick or 113 g unsalted butter, melted and slightly cooled
- 1 1/2 cups 300 g packed light brown sugar
- 2 large eggs at room temperature
- 2 teaspoons pure vanilla extract
- 1 1/2 cups 180 g all-purpose flour
- 1 teaspoon baking powder
- 1/2 teaspoon salt use 1/4 tsp if using salted butter
- 1 cup 170 g semi-sweet chocolate chips (or chocolate chunks)
- Flaky sea salt for sprinkling (optional)
Instructions
- Prep: Preheat your oven to 350°F (175°C). Line an 8 x 8-inch metal baking pan with parchment paper, leaving an overhang on 2 sides to easily lift the bars out later. Lightly grease the pan or the parchment paper.
- Combine Wet Ingredients: In a large bowl, whisk together the melted and slightly cooled butter and the packed brown sugar until completely smooth. The heat of the butter will help dissolve the sugar, which is key to a chewy texture.
- Add Eggs and Vanilla: Whisk in the 2 eggs one at a time, followed by the 2 teaspoons of vanilla extract. Mix until the batter is glossy and well-combined.
- Add Dry Ingredients: In a separate medium bowl, whisk together the flour, 1 teaspoon baking powder, and 1/2 teaspoon salt.
- Mix Batter: Pour the dry ingredients into the wet ingredients. Use a rubber spatula to fold them together until just combined. Stop mixing as soon as you no longer see streaks of dry flour. Do not overmix, as this can lead to tough blondies.
- Fold in Chocolate: Gently fold in the 1 cup of chocolate chips until they are evenly distributed throughout the batter.
- Bake: Spread the batter evenly into the prepared baking pan. Sprinkle the top with a pinch of flaky sea salt, if desired. Bake for 28–35 minutes.
- Cool Completely: The blondies are done when the edges look set and golden brown, and a toothpick inserted into the center comes out with moist, fudgy crumbs (not wet batter).
- Slice: Let the blondies cool completely in the pan on a wire rack for at least 1–2 hours before lifting them out using the parchment paper overhang. This allows them to finish setting and results in clean, chewy squares. Slice and enjoy!
Notes
Store in an airtight container at room temperature for up to 5 days.